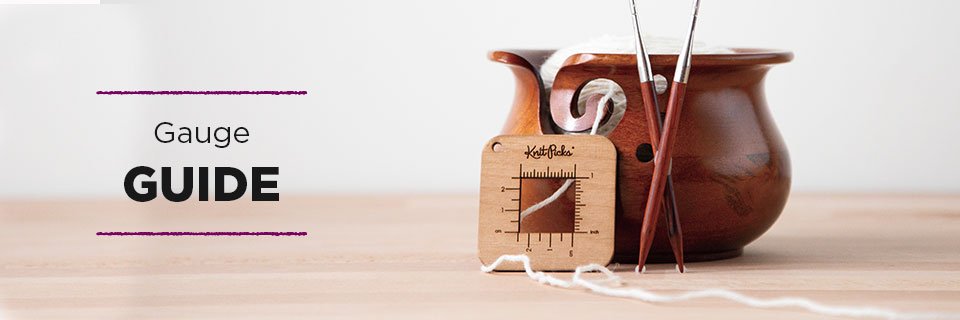
All About Gauge
Gauge is a measure of the number of stitches in one inch of fabric. Gauge is essential in knitting and you will see it referenced in a number of places.
Once you have selected a pattern to knit, look for the designer’s given gauge. This can usually be found at the start of the pattern, near the yarn and needle requirements. The designer gives you the gauge of the pattern as shown so that you can achieve the fit and drape that they intended the knitted fabric to have. However, the gauge is also included so that you can experiment with other yarns and styles while still creating the same basic finished item.
We recommend using a Gauge Ruler designed for knit swatches to easily and quickly get an accurate measurement of your swatch!
Getting Started
Now that you’ve chosen a pattern, it’s time to select your yarn. Look at the label on any yarn for a starting point. Usually the label will indicate a gauge (i.e. 5 sts/inch) and a recommended needle size (i.e. U.S. 9). This information may also appear as a small graphic. Many yarn companies provide a row or vertical measurement to match as well. This number is usually different than the stitches per inch because a stitch is shorter than it is wide. This is important but not something you need to worry about when choosing your yarn. If your yarn lists a gauge of 20 stitches and 25 rows over a 4 x 4 square, this means that there are 5 stitches per inch. Simply divide the number of stitches over 4 inches (20) by 4 to determine the number of stitches per inch. Provided the gauge on the yarn matches the gauge on your pattern, you have a potential winner!
Once you understand the gauge listings on a pattern and on various brands of yarn, you have the power to explore options to your heart’s content. This freedom is incredibly liberating. If the yarn the designer used is not in your price range or your preferred fiber, you can confidently choose a different yarn. Various fibers knit up differently, but as long as you stay within the recommended gauge, you are headed down the right path.
Make Gauge Swatch
Whether your yarn has a listed gauge on it or your pattern says size 8 needles are needed for the project, always do a test before you begin knitting. This test is called a gauge swatch and is vitally important to the success of your garment. Spending time knitting a decently sized swatch may take you an hour, but it will save you the hundreds of hours you might have spent knitting a sweater the wrong size!
If you knit up a gauge swatch and discover that it has either more or fewer stitches per inch than your pattern calls for, you can rectify the situation by increasing or decreasing your knitting needle size accordingly. It can be tricky to remember that if you want more stitches you should use a smaller needle and if you want fewer stitches you should use a larger needle. Just remember that the larger your needles get, the larger your stitches will be and therefore fewer of them will fit into an inch.
Choosing Your Needle Size
In the pattern you have chosen, it will most likely have a note next to the required needles that says something like “Or size needed to obtain correct gauge”. This is an important tip as various knitters will use different sizes of needles to achieve a specific gauge. If you knit tightly, you may need a size 8 needle to achieve 5 sts/inch. If you knit loosely, you may need a size 5 needle. If you happen to be lucky enough to knit at exactly the same tension as the person who wrote the pattern, you’re ahead of the game – but you wouldn’t have known that for sure without knitting a gauge swatch! Your swatch will help you figure out what needle size you need.
Gauge is your friend, but you’ve got to negotiate until you, your yarn, your needles, and your pattern have reached an agreement. Then you’re ready to get down to business!
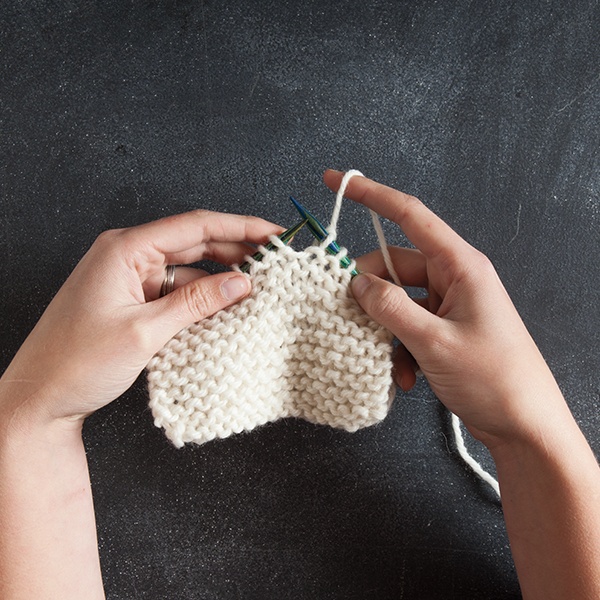
Creating the Swatch
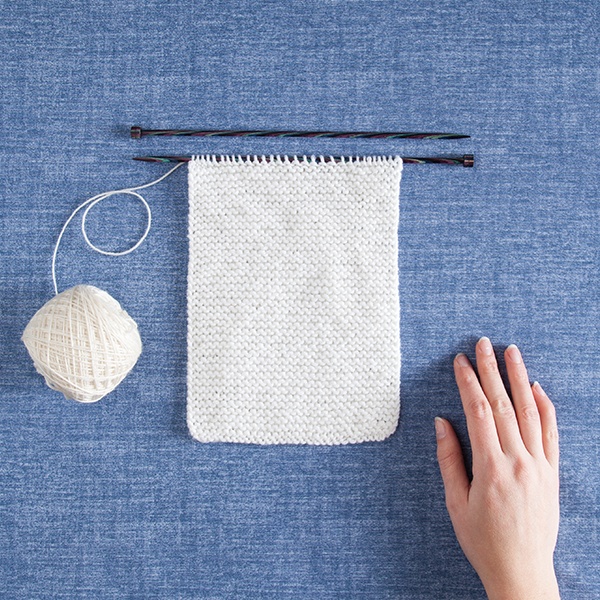
Using the indicated gauge, cast on six inches worth of stitches. If the indicated gauge is 5 sts/inch, you will cast on 30 stitches, for example. Knit the first inch in garter stitch (knit every row). This will prevent the swatch from rolling at the edges and will make it easier and more accurate to measure. Change to stockinette stitch (alternating knit and purl rows) for five more inches. Switch back to garter stitch and knit one more inch. Take your needles out of the stitches – you can pick them up later if necessary. This will ensure that the needle doesn’t affect your swatch gauge.
Measuring the Swatch
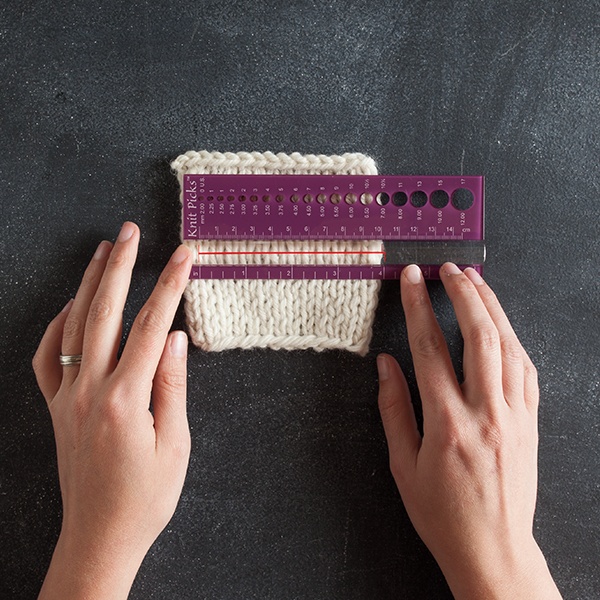
Lay the swatch out flat on a hard surface without stretching it. Place a firm ruler (wood, metal, plastic) across the swatch horizontally and mark the beginning and end of a four inch section of stitches with two straight pins. Count the number of stitches between the pins and divide that number by 4 to find the number of stitches per inch. Do not ignore fractions of stitches! You now have an accurate measure of your gauge with the yarn and needles you used to make the swatch. If this number matches that which is listed on your pattern, you are ready to begin your project. If the number doesn’t match the necessary gauge, you will need to increase or decrease your needle size to remedy the situation.
Too few stitches per inch? Use a smaller needle. Too many stitches per inch? Use a larger needle. With your new and improved needle size in hand, pick up the live stitches from your first swatch. Knit another five inches of stockinette and then one more inch of garter. Measure again and continue this process until you have achieved the desired results.
Note: To achieve the greatest accuracy in measuring your gauge, you may want to launder the swatch as you will the finished item. Wash it and dry it according to the yarn care instructions and then block it. Now measure the gauge. The finished gauge can be slightly different than the unblocked gauge. Washing your swatch will help you to fit a garment more precisely.
What do I do with the Swatch?
Your completed swatch can be just that – a swatch – or it can become something more. Once you’ve figured out the needle size you need, you can frog the swatch and use it for your project. You can also tag it and keep it for reference in your swatch library. Bind it off and use it as a pocket for your next sweater. If you’ve got some extra time and yarn to spare, knit your swatch in the round and finish it off as a simple hat when you’re done measuring. Swatching can be fun as well as being a knitter’s lifesaver. Come on in, the water’s fine!