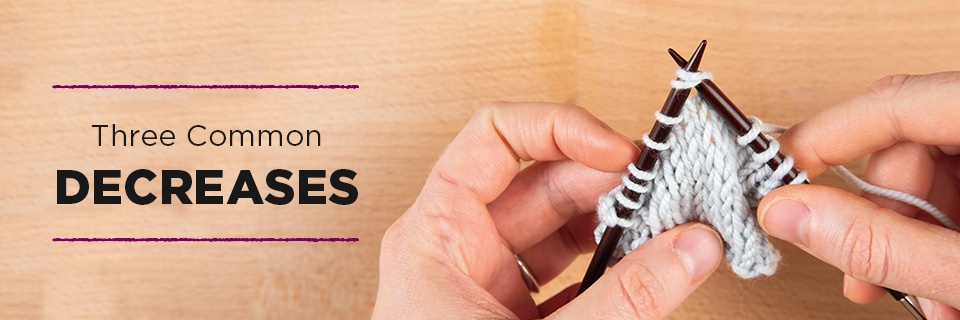
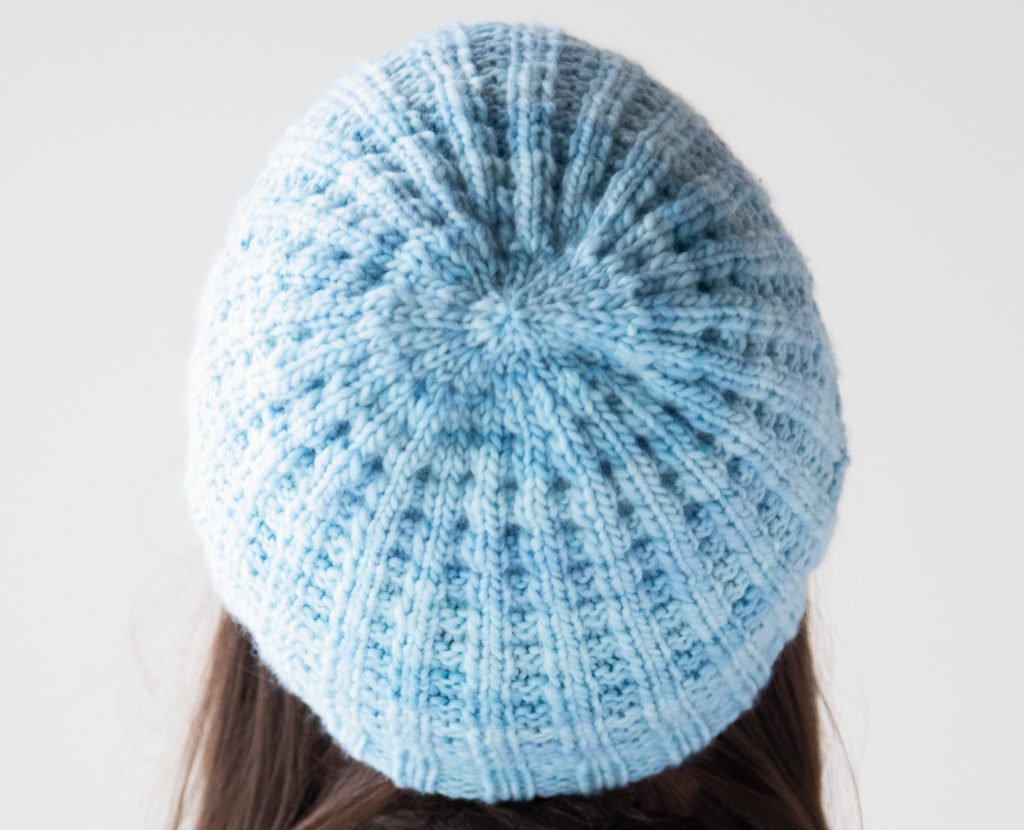
In this tutorial we’ll show you how to work the three different decreases used in the Resa Hat patterns (worsted and fingering): the most common knit-wise single decrease (K2tog), the most common purl-wise single decrease (P2tog), and a centered double decrease (CDD). These are excellent, useful stitches to have in your knitting go-to skill set!
Knit 2 Together (K2tog)
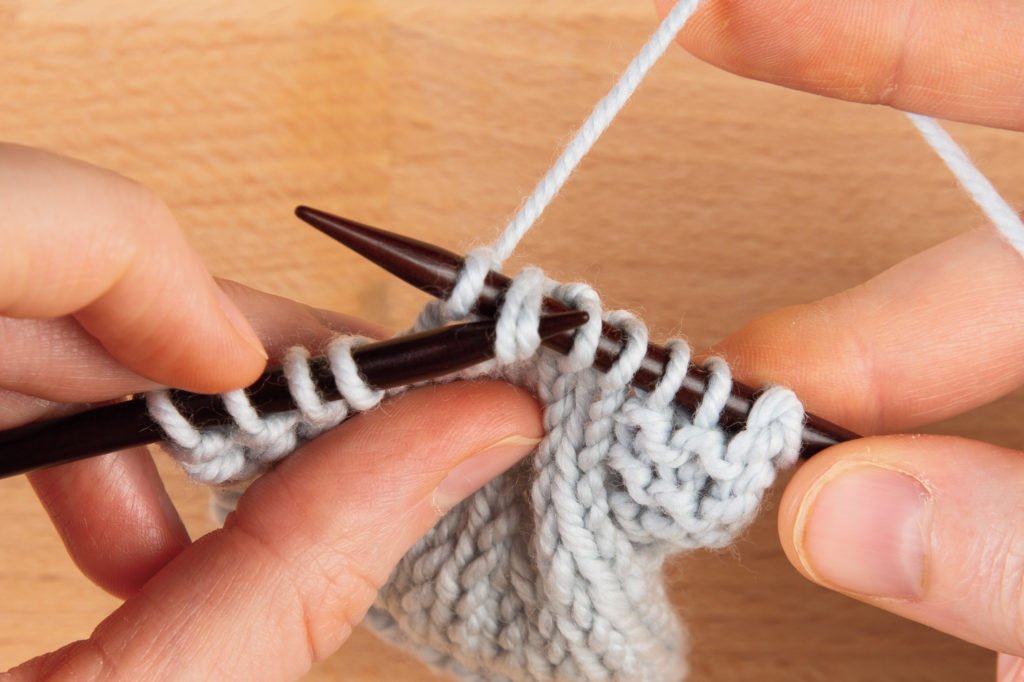
First, the knit 2 together decrease. It’s worked just how it sounds, by knitting two stitches together as one. It decreases one stitch from your stitch count, and it leans to the right.
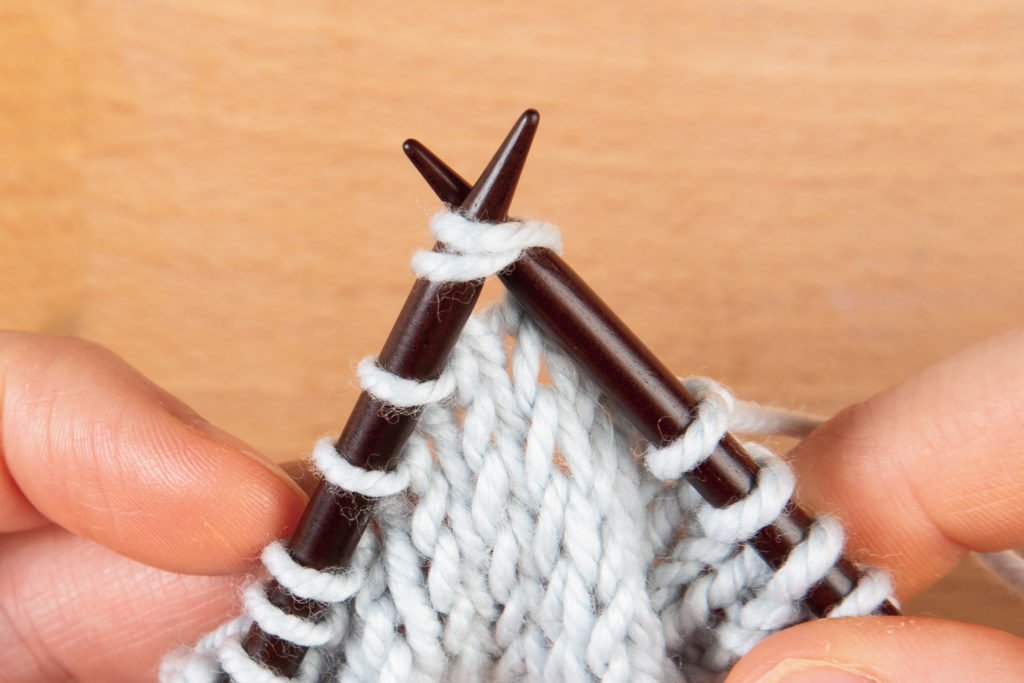
Make this decrease by sticking your needle through both of the next two stitches at the same time, the same way you would normally to knit a stitch, but through two stitches instead of one.

Then complete the knit stitch as you would with a normal knit stitch.
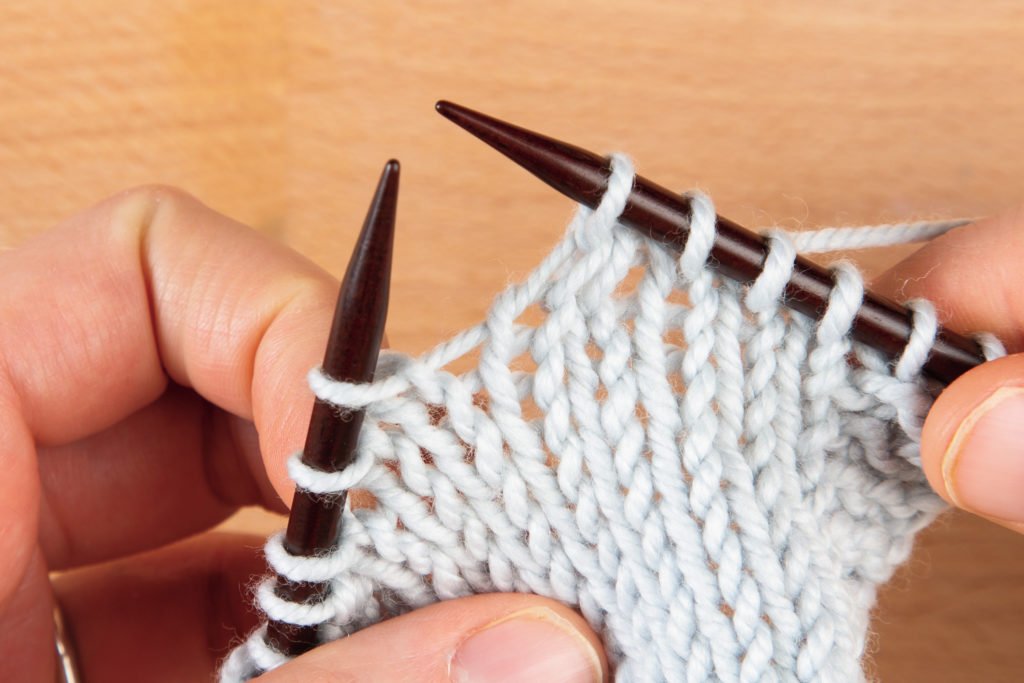
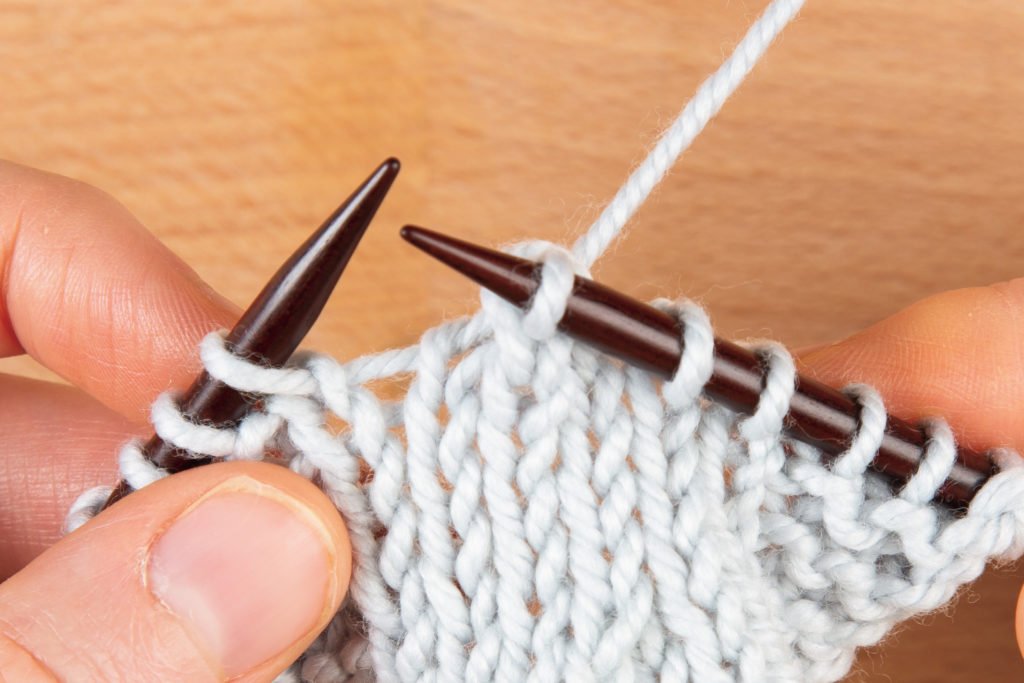
You’ve just decreased! Now there is just one live stitch instead of two.
Purl 2 Together (P2tog)
Now a purl-wise decrease. A purl 2 together decrease is normally made on the wrong side, where you’re working purl stitches, or in a ribbed pattern (which is how it’s used in the Resa hats). It’s made by purling two stitches together as one, just like the knit 2 together but purl-wise. This decrease also leans to the right, both on the purl side where it’s worked and flipped over on the knit side.

Make this decrease by sticking your needle through both of the next two stitches at the same time, purlwise, the same way you would normally to purl a stitch, but through two stitches instead of one.
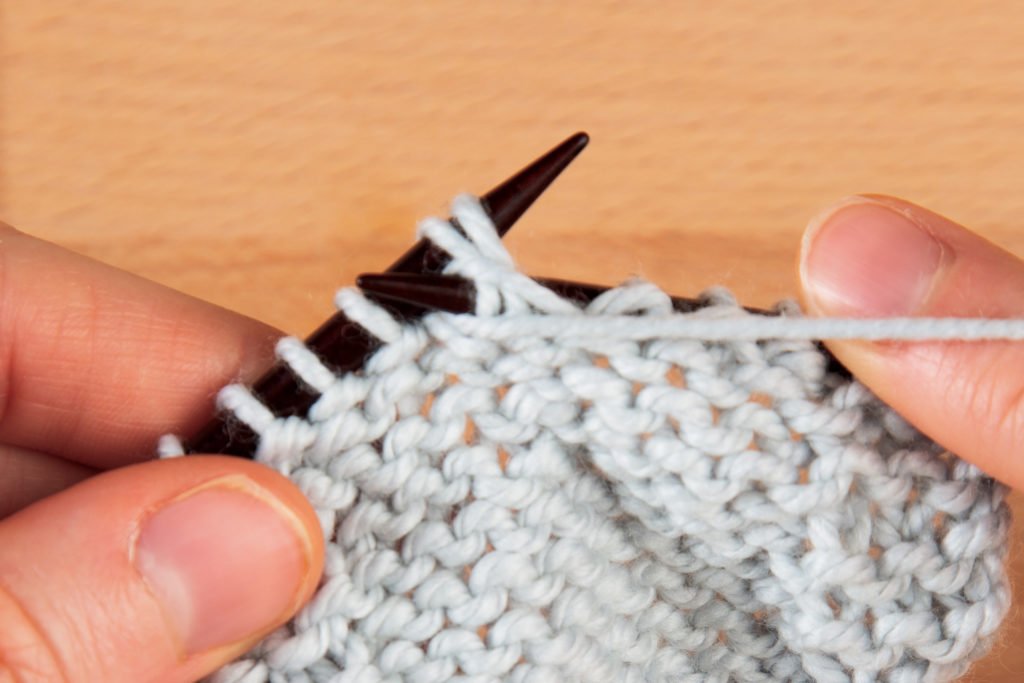
Then complete the purl stitch as you would with a normal purl stitch.
You’ve made a purl decrease! There is now one live purl stitch instead of two.
Centered Double Decrease (CDD)
This one has a few steps involved, to decrease from three stitches down to one, in a way that keeps the center stitch in the center, with the side two stitches neatly leaning under that center stitch. It looks so nice, making it a very satisfying stitch to use!
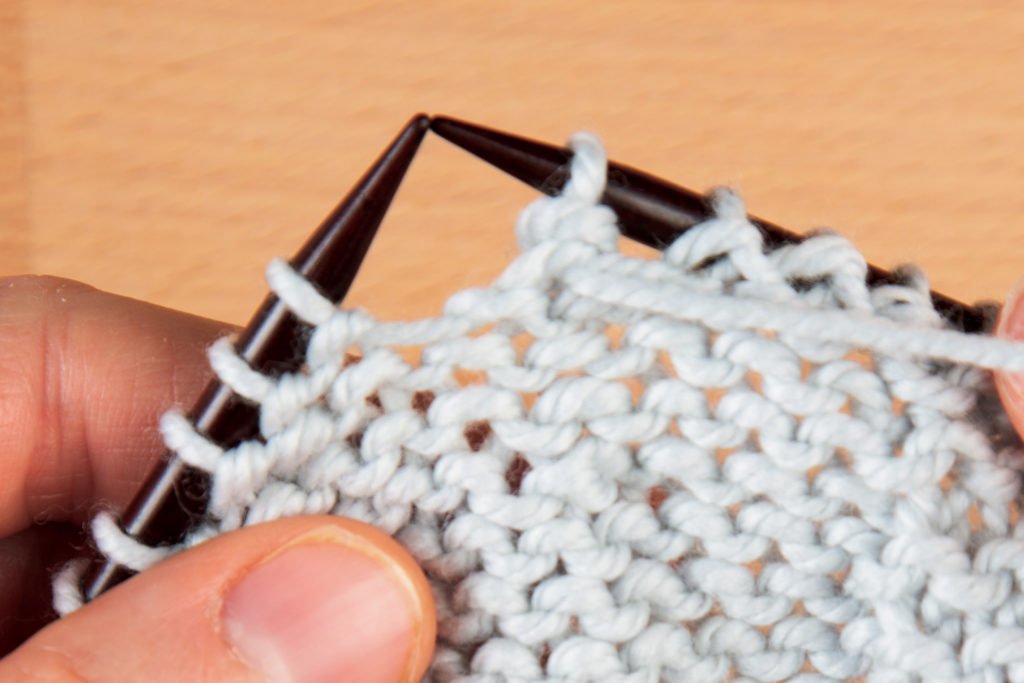
Start by sticking your needle through the first two stitches together knit-wise, as if you were going to work a K2tog …
… but then just slip them onto the right-hand needle without working them.

…
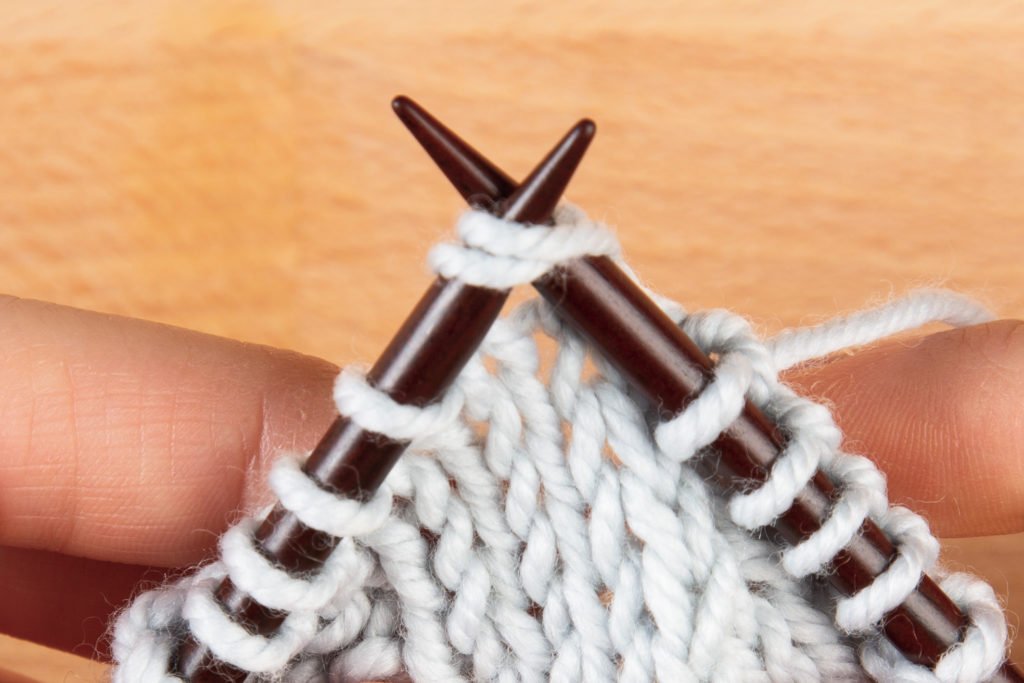
Now knit the next (third) stitch normally.
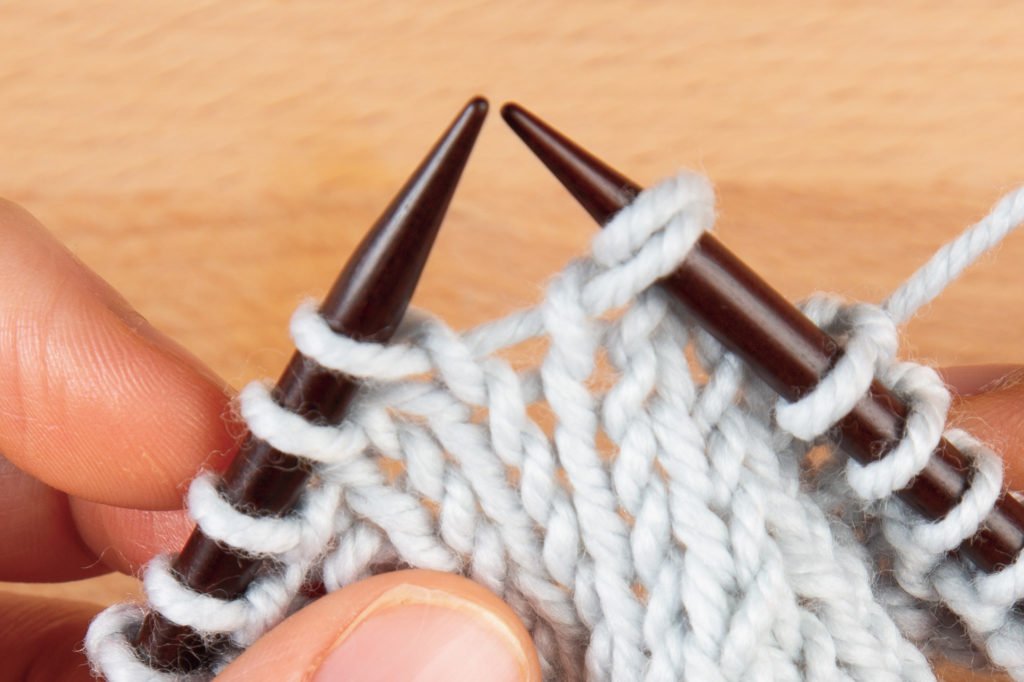
Lastly, pass those two slipped stitches up over the knit stitch and off the needle.
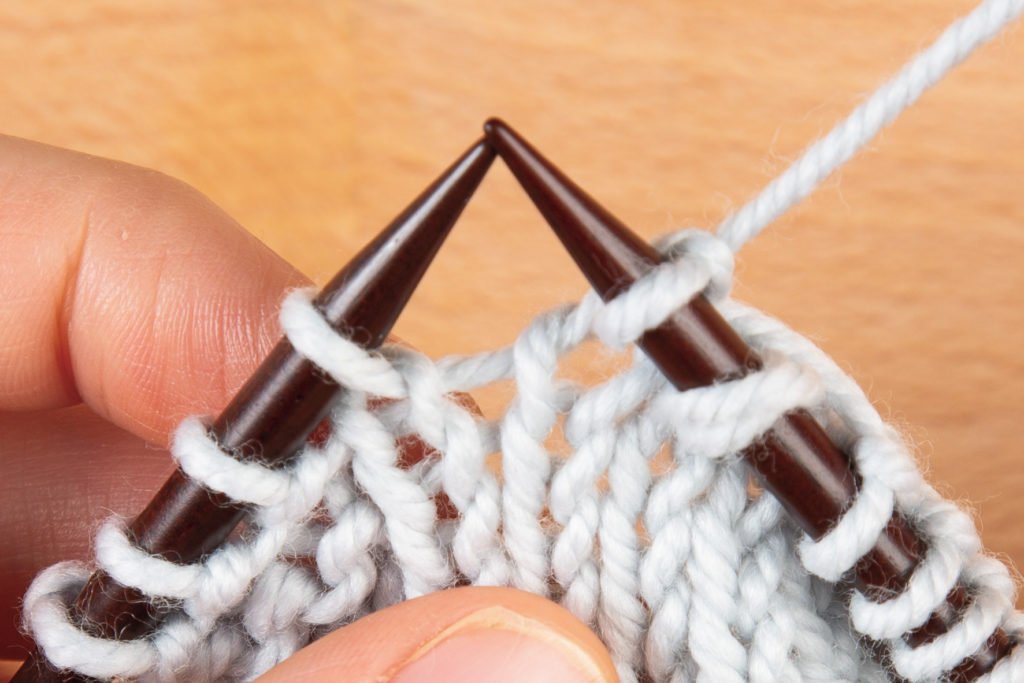
Now you are left with just one stitch where there used to be three stitches — double decrease accomplished!
And you're done!
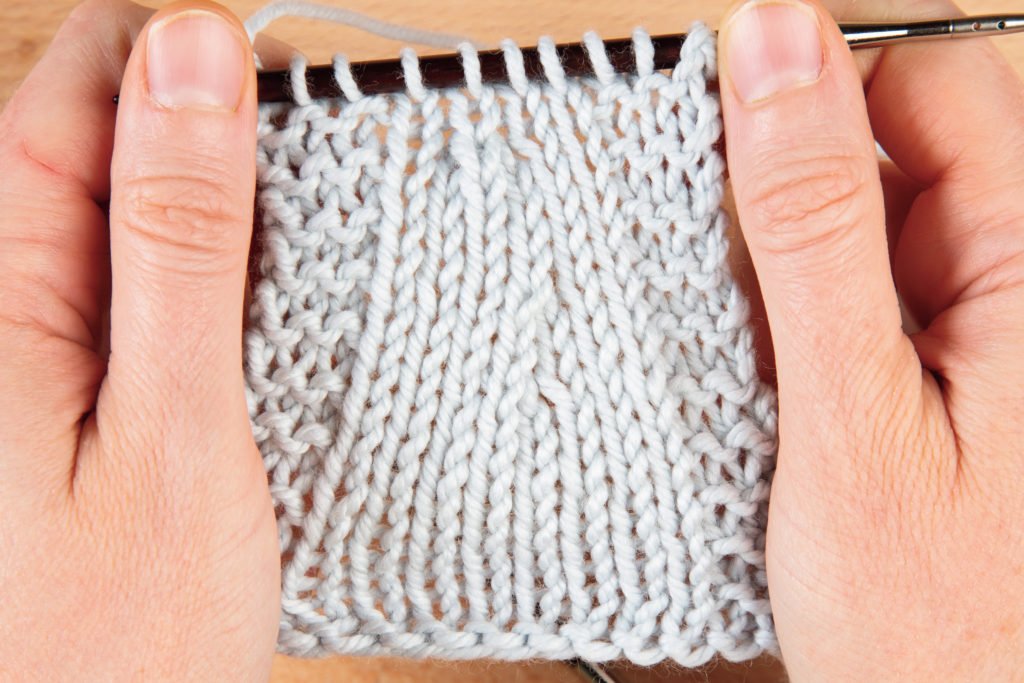
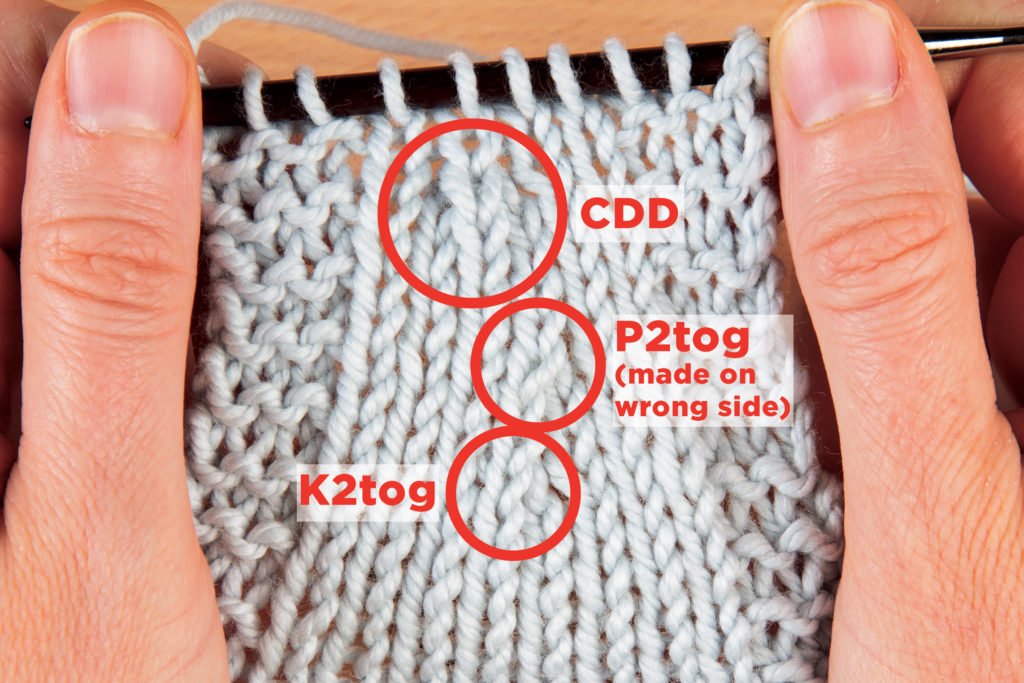
Let’s admire these three decreases we’ve learned, seen here all on the right side of the stockinette, (note: we worked the P2tog on the purl side of this piece). Now go on with your knitting and decrease away with confidence!