
While many people choose not to block socks, it’s extremely helpful to open up stitch patterns and even out knitting for photography or gift giving.
Getting Started
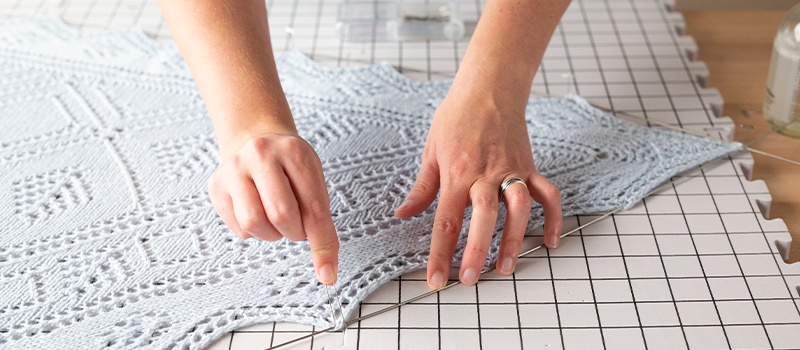
Like lace projects, you’ll follow the basic instructions for wet or spray blocking. Recommended for wool and animal fibers in general, wet blocking involves fully wetting your finished pieces. However, for socks, we recommend using a sock blocker to get them in that perfect sock shape.
Step One
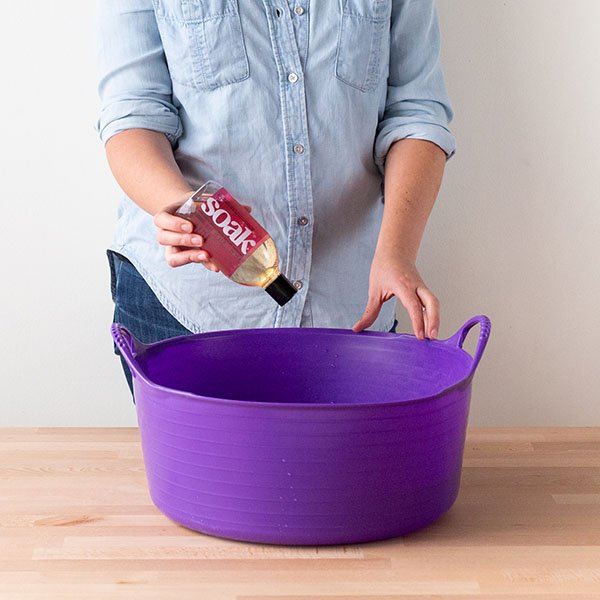
First, fill a clean sink or basin with water. For water temperature and soaking time, follow the yarn label's recommendations for the yarn used. Generally, we recommend using lukewarm water (hot water may cause felting in wool!). If using, add wool wash to the bath and swish to distribute evenly.
Step Two
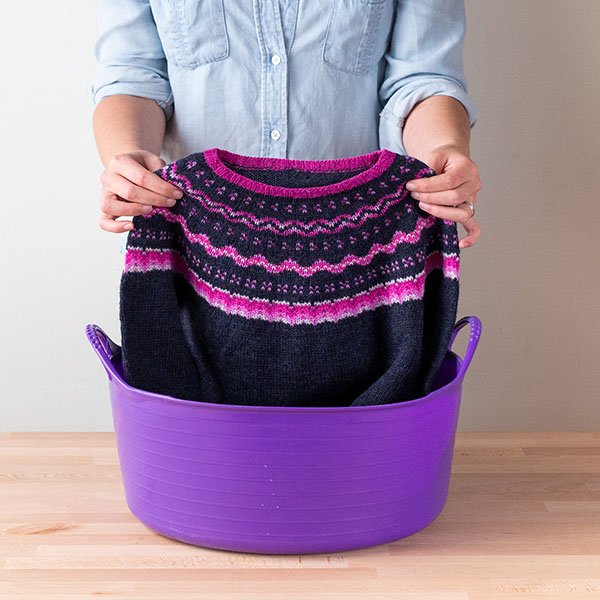
To soak, gently submerge your project, gently squeezing out any air bubbles so that the piece is fully saturated. Never place any animal fiber items under running water as this agitation may felt your fabric.
Step Three
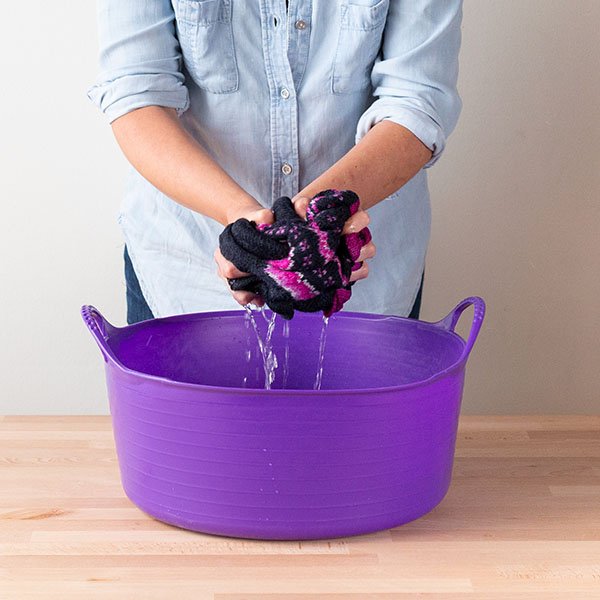
Allow the piece to rest in the bath for at least 10 minutes and up to 30 minutes. To remove your project, gently lift it out of the water, making sure to support its weight evenly so that the fabric doesn’t stretch and distort under the extra water weight. Gently squeeze (never wring!) to remove excess water.
Step Four
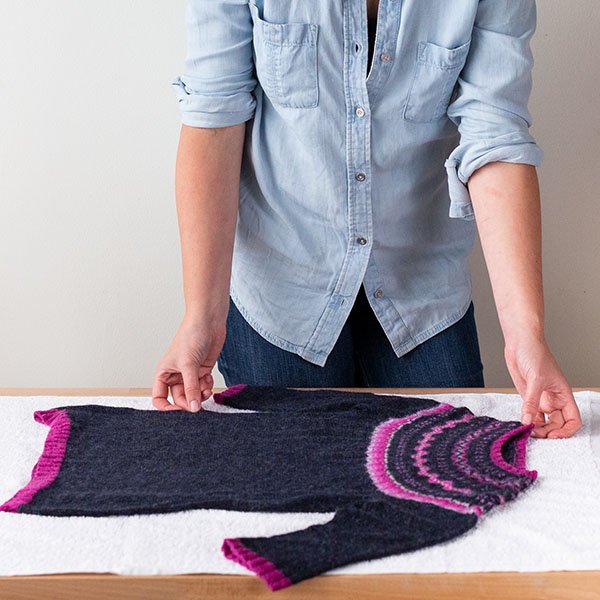
Next, lay your project flat on a clean, dry towel.

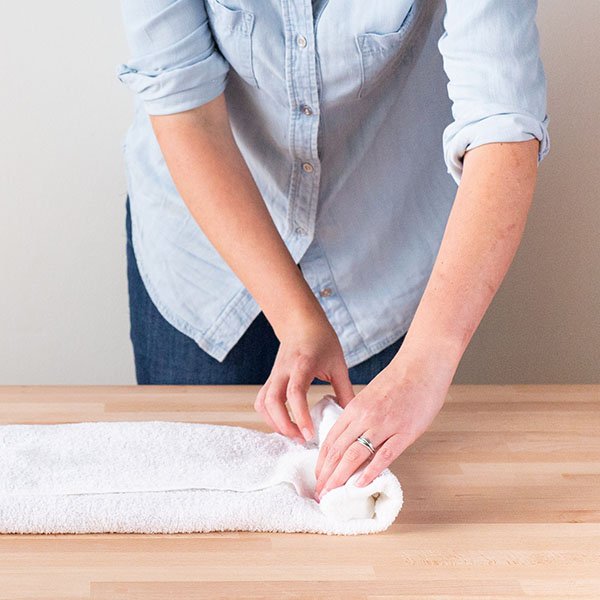
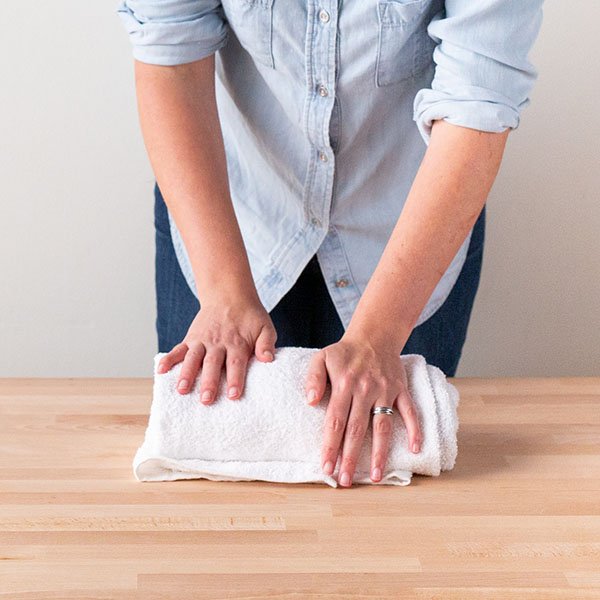
Roll your project up in a single layer or fold into thirds to make the rolling size more manageable. Press gently and evenly on the rolled towel to remove excess moisture before unrolling and laying your garment flat to completely dry.
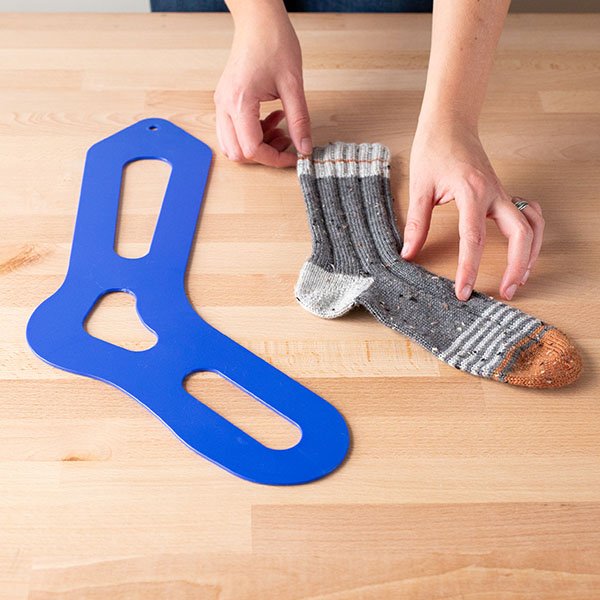
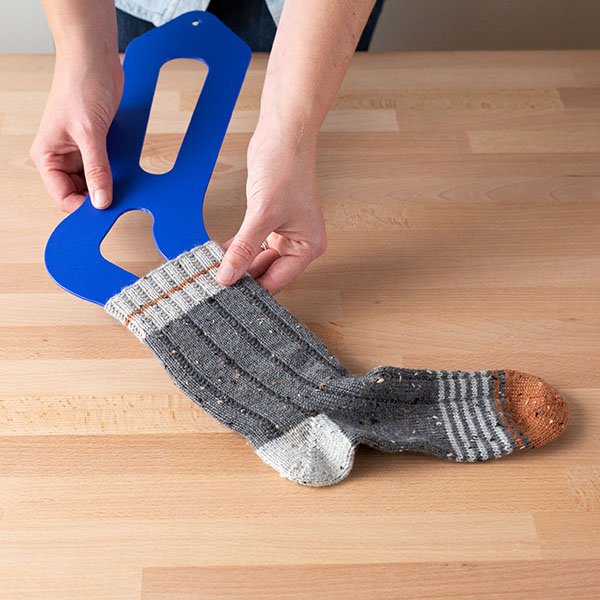
Step Five
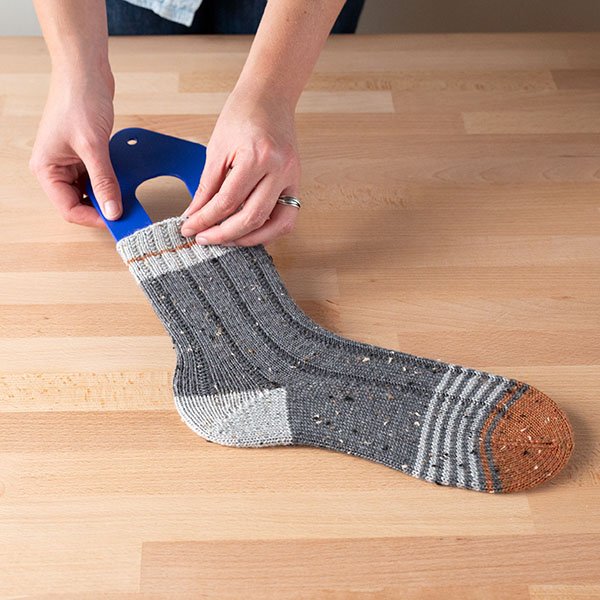
Choose the correct size sock blocker to match the finished sock dimensions. Simply slide the sock on the blocker as you would put it on your foot! Make sure the heel and the toe are lined up in the proper places, then let dry. These blockers can be left to dry flat (flip them after a couple of hours to dry evenly) or hung up on a hook.
Continue Learning
Need more blocking tips? Here's everything you need to know to get started.